
Wrapping a liner
The sequence matters. These are three distinct steps, not one continuous motion, and the difference between contact and burnishing is where most wraps go wrong.
- 1
Lay the glue
Run a glue line along the top of the stock, then disperse it across all four bars with a foam roller sized to the profile. Raphael’s guidance is that more glue and a longer drying time beats not getting enough on, so err toward the heavier coat.
- 2
Make contact only
Lay the fabric down so it makes contact only: no pressure, no smoothing, no working the material. Pressing at this stage is what traps air under the wrap, and once air is trapped the bond is compromised before it has a chance to set.
- 3
Burnish
Fold a piece of non-abrasive cloth and work across the surface at medium pressure. This is the step that drives air out and sets the bond. Contact and burnishing are two separate steps: blending them into one motion skips the most important part of the process.
Sheer and pale fabrics need the substrate sealed
A sheer or light-coloured fabric will show the stock underneath it as a visible shift in tone. The fix happens before the glue comes out.
Sand the stock lightly, then coat it with flat white enamel and let it cure fully before wrapping. Heavier or denser fabrics need no preparation of this kind.
If the fabric has a direction to it, cut your strips across the grain. Cutting with the grain on a directional fabric produces a finished surface that reads as uneven once it is on the frame.
Wrapping a mat
Run the glue line about half an inch in from the edge, working outward toward the edge but stopping before you reach it. Glue that goes over the edge transfers to the visible face of the mat, and that is not a recoverable mistake once the fabric is down.
At each corner, cut a forty-five degree diagonal into the fabric, stopping just short of the mat itself. This removes the bulk that would otherwise stack up at the corner and show through the wrap.
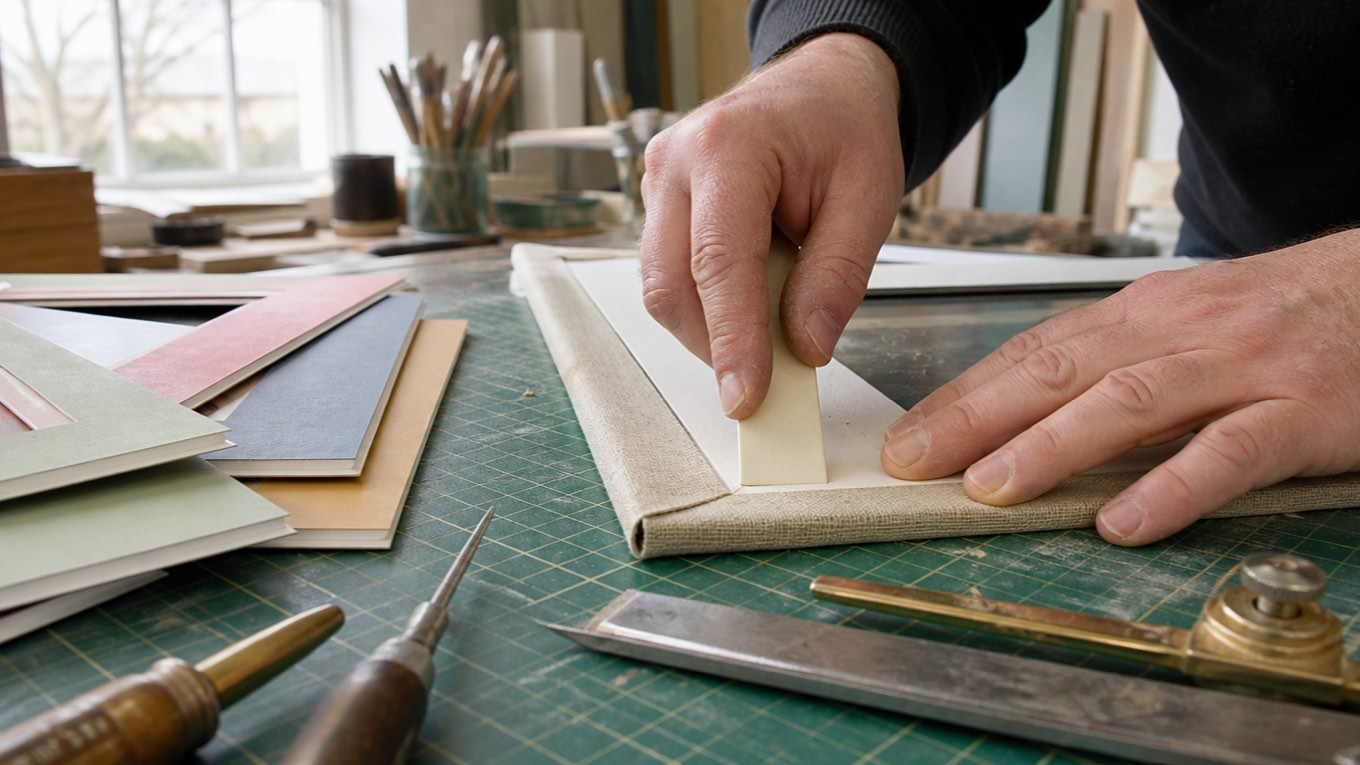
Turn the fabric around the back edge using a bevelled strip of mat board as a scraper. The bevel gives a clean, consistent fold without finger pressure distorting the face.
Heat both sides, then cool it flat
A mat heated on one side only will curl. That is not a fault in the adhesive; it is what happens when one face of a board loses moisture faster than the other.
Apply heat to both sides, working evenly, then let the piece cool flat between two sheets of glass or clean mat board. The cooling step is the one people skip: a mat left leaning against a bench keeps whatever curve it cools into, and flattening it afterward is much harder than avoiding it in the first place.